Gone are the days when a glowing tan meant hours under the harsh sun or frequent trips to a tanning salon. Today, self-tanning at home is a popular and safer alternative for achieving that bronzed look without the risk of sun damage.
Doing your tan at home means more flexibility—you can choose when and how to apply it, tailor it to your skin tone, and maintain a year-round glow from your bathroom. Plus, self tan is budget-friendly and requires no appointments or salon visits.
The Benefits of At-Home Tanning
Self-tanning products are designed to mimic the sun-kissed look without the UV exposure that accelerates skin aging and increases the risk of skin cancer. By tanning at home, you:
- Reduce UV exposure: No sun or tanning bed required
- Save money: One bottle of self-tanner can last multiple uses
- Gain convenience: Tan at your own time, without salon schedules
- Enjoy privacy: Perfect for people who feel self-conscious in salons
- Achieve buildable results: Control how deep your tan gets
Choosing the Right Self-Tanner for Your Skin
There’s a wide variety of self-tanning products available today, each suited to different preferences and skin types. Here’s a breakdown to help you choose:
- Mousse: Lightweight, fast-drying, and often best for experienced users who want a darker tan.
- Lotion: Great for beginners, these allow more time for blending and are often packed with moisturizing ingredients.
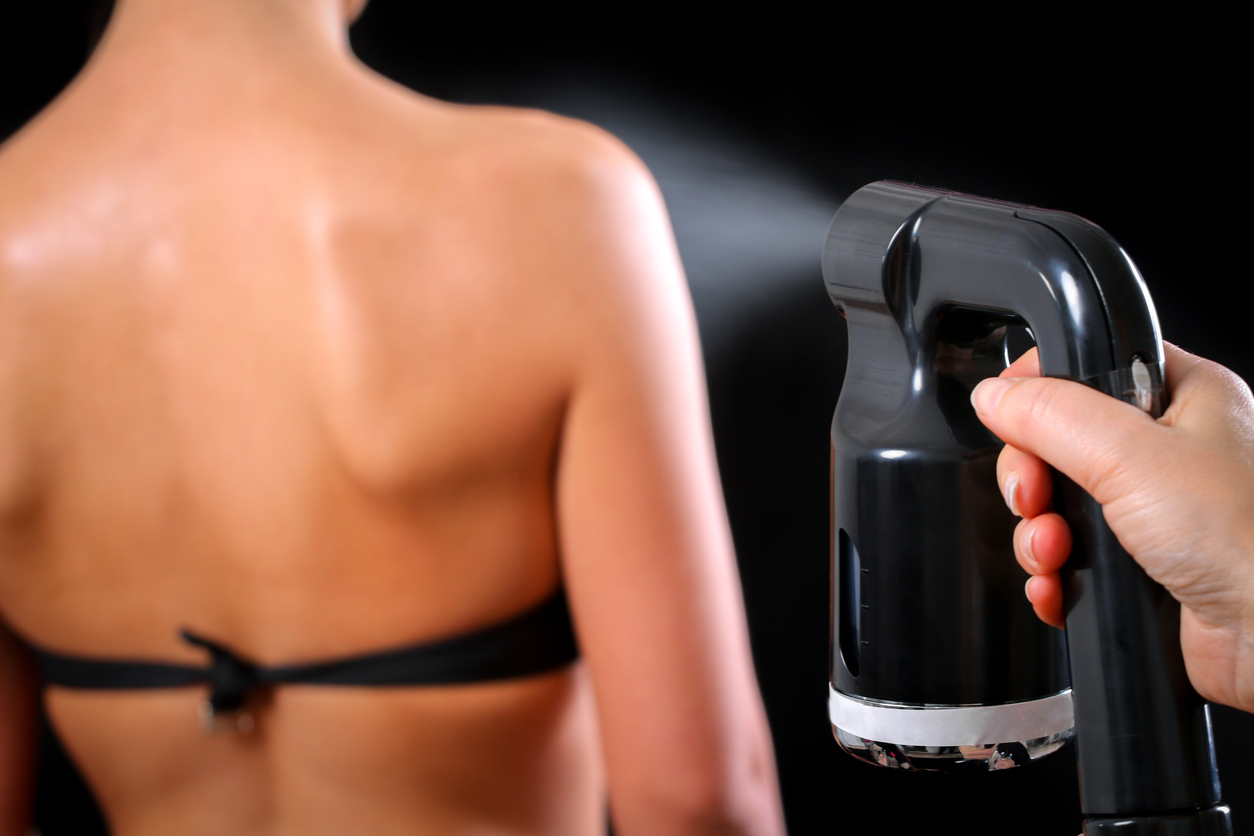
- Spray: Best for even coverage, especially for hard-to-reach areas like the back.
- Tanning drops: Customizable and subtle, you can mix them with your regular moisturiser.
- Wipes: Convenient for travel or quick applications on-the-go.
Look for products that suit your skin tone and dryness level. If you have sensitive skin, opt for fragrance-free or hypoallergenic formulas. For first-timers, start with gradual tanners that allow you to build your color over time.
Essential Preparation Steps Before Tanning
Flawless tanning starts with a good prep routine. Here's how to ensure your skin is ready:
- Exfoliate: Use a gentle scrub or exfoliating mitt the day before applying tanner. Focus on elbows, knees, ankles, and any rough patches to ensure smooth absorption.
- Hair removal: Shave or wax at least 24 hours beforehand. This gives your pores time to close and avoids dark spots forming where the product settles.
- Moisturize: Hydrate dry areas such as elbows, knees, hands, and feet about an hour before tanning to prevent patchiness.
- Nail protection: Dab some petroleum jelly on your nails and cuticles to prevent staining.
- Choose your space: Apply your tan in a well-lit, dry space, ideally with a mirror to help you see all angles.
Step-by-Step Application Tips
Once you’re prepped, it’s time to apply your self-tanner:
- Use a tanning mitt: This prevents stained palms and helps with smooth application.
- Work in sections: Apply product to one body part at a time—legs, arms, torso—using circular motions to avoid streaks.
- Be careful with joints: Use sparing amounts on elbows, knees, and ankles. These areas absorb more product and can darken quickly.
- Blend well: Always check for uneven edges or streaks before the product dries.
- Face application: Use a lighter touch or a specific face-friendly tanner. Avoid applying too close to the eyes, eyebrows, or hairline.
- Dry time: Let the product dry thoroughly—at least 10 minutes before dressing.
- Dress smart: Wear loose, dark clothes and avoid anything tight that might rub off the tan.
- Let it develop: Most tans develop fully over 6 to 8 hours. Avoid sweating, showering, or water exposure during this time.
Maintaining Your At-Home Tan
To get the most out of your glow, maintenance is key:
- Moisturize daily: Keeping your skin hydrated will help your tan last longer and fade evenly.
- Avoid hot showers: Hot water and harsh soaps can strip your tan quickly.
- Pat dry, don’t rub: After showers, gently pat your skin dry with a towel.
- Exfoliate gently: After several days, lightly exfoliate to encourage an even fade.
- Top up as needed: Use a gradual tanner or reapply lightly once your tan starts to fade.
Common Mistakes and How to Avoid Them
Even experienced tanners can make mistakes. Here are the most common ones to watch out for:
- Skipping prep: Not exfoliating or moisturizing can lead to a patchy, uneven tan.
- Overdoing it: Applying too much product at once can cause unnatural color or blotches.
- Streaky application: Rushing the process or skipping areas leads to visible lines.
- Ignoring hands and feet: These are easy to forget but are tell-tale signs of a fake tan if not blended well.
- Using the wrong shade: Choose a shade that complements your natural skin tone rather than going too dark too fast.
Conclusion
So, can you self-tan at home? Absolutely. With the right tools, a bit of preparation, and some practice, you can achieve a salon-quality tan in the comfort of your own space. Self-tanning at home is not only safer and more affordable but also a fun way to experiment with your look.
Whether you’re prepping for a holiday, a special event, or just want to feel a little more radiant day-to-day, self-tanning at home puts the power of a glow in your hands—literally. And with so many product options and tutorials available, it’s never been easier to get that bronzed look without setting foot outside.