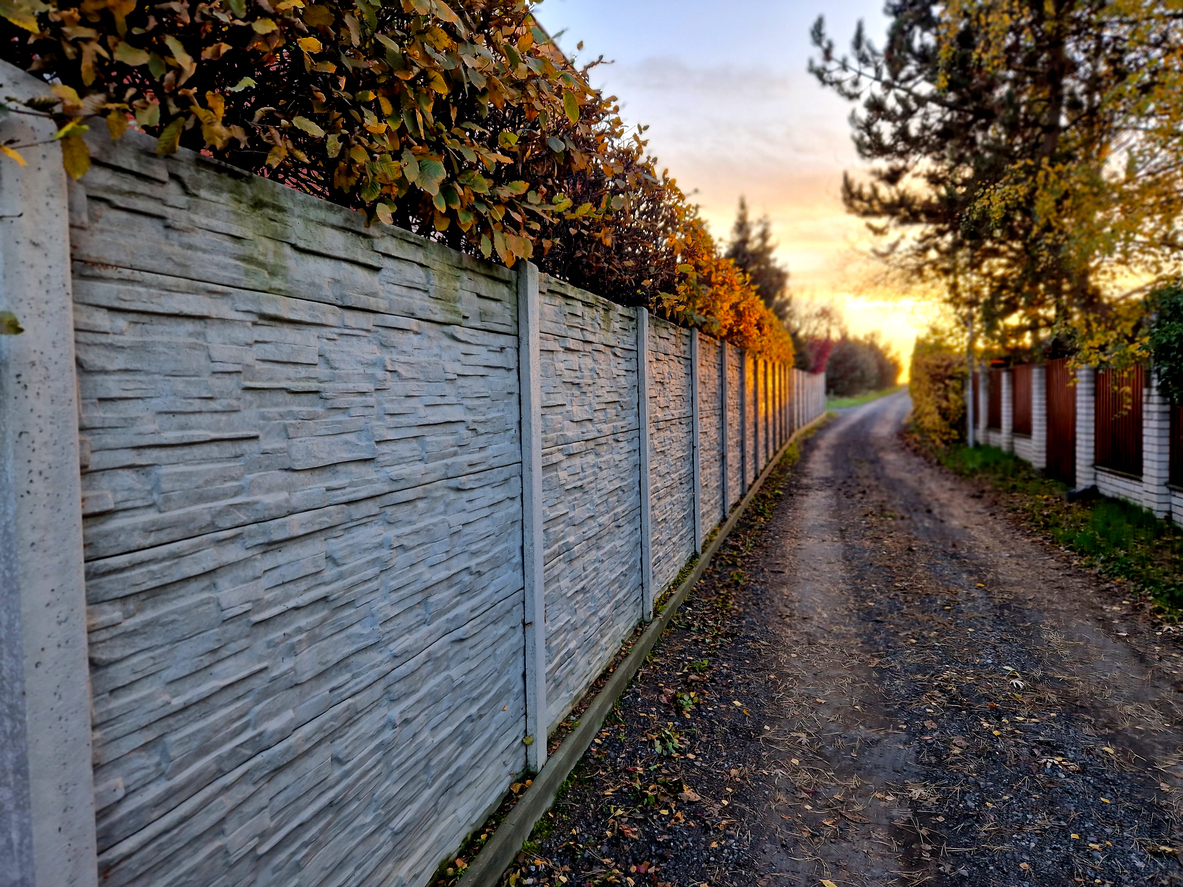
If you’re dreaming of a garden makeover or need a sturdy retaining wall, concrete sleepers are a popular and practical choice. Their strength, durability, and modern look make them ideal for both landscaping and structural purposes.
But before jumping into the project, it’s important to understand the right way to install them. This blog will walk you through the key steps and considerations to ensure your concrete sleeper installation is safe, secure, and long-lasting.
1. Plan and Measure the Area
Start by deciding where you want the retaining wall or garden edge. Use string lines and stakes to mark the layout clearly. Make sure the line is straight or curves evenly, depending on your design. Then, measure the length and height of the area to know how many sleepers and posts you will need.
Think about the height of your wall because that will decide how deep your posts must go into the ground. Also, check for any pipes or cables underground. You can contact local services to help locate them.
2. Gather Tools and Materials
Once the planning is done, gather all the tools and materials you’ll need. This saves time and avoids delays during installation.
The key materials include concrete sleepers, steel posts (like H or C channels), gravel, cement mix, and possibly drainage pipe. Tools you may need are a shovel, post hole digger, spirit level, measuring tape, wheelbarrow, and safety gear like gloves and boots.
Double-check your list before starting. Having everything ready ensures a smooth process. Also, buy slightly more materials than you think you’ll need in case of mistakes. If you’re unsure about how much to buy, talk to the supplier.
3. Dig Post Holes
The holes should be deep enough to support the height of your wall. A common rule is to dig one-third of the wall height into the ground.
For example, if your wall is 1.2 meters tall, dig holes about 40 cm deep. The spacing between holes should match the length of your concrete sleepers, usually around 2 meters.
Use a post hole digger or shovel for this step. Keep the holes neat and wide enough for the steel posts and concrete. Check each hole’s position using your measuring tape and string line to make sure everything is straight.
4. Position and Concrete the Steel Posts
Place your steel posts into the holes one by one. Use a spirit level to ensure they are standing straight up, both vertically and in line with each other. This step is important because the sleepers will rest between the posts. If a post is off, the sleepers won’t sit properly, and the wall may lean.
Once the post is in place, pour concrete around the base of the post to hold it firm. Use a shovel or stick to press the concrete down and remove any air bubbles. Let the concrete dry and set fully—this may take at least 24 hours.
5. Install the Concrete Sleepers
Once your steel posts are firmly in place and the concrete has dried, it’s time to install the concrete sleepers. Slide each sleeper into the grooves of the steel posts, starting from the bottom. Stack them carefully one above the other. Make sure each sleeper is level before placing the next one on top.
Some sleepers can be heavy, so always lift with care or ask someone to help you. As you build, check with a spirit level to ensure everything stays even and straight. If needed, add drainage gravel behind the wall to help water flow away.
Master Proper Preparation for Long-Lasting Results
From leveling posts to choosing high-quality sleepers, every detail contributes to a secure and visually appealing result. If you’re looking for durable and reliable products to get started, consider using Civilmart sleepers for a professional-grade finish. With the right materials and techniques, your project can deliver strength, style, and longevity.